


When you’re planning to travel abroad for medical care, your journey doesn’t begin with a plane ticket—it starts with your medical records. Whether you’re seeking surgery, dental work, fertility treatment, or even a second opinion, having organized, accurate, and complete documentation is essential for a smooth and successful medical experience overseas.
Top hospitals abroad, especially in countries like India, Thailand, and Turkey, require detailed medical information to evaluate your case, confirm a treatment plan, and provide a reliable cost estimate. Yet many patients don’t know how to prepare their medical records for international treatment, or what documents are truly necessary.
In this blog, we’ll walk you through exactly what you need, how to organize it, and the best way to submit your records safely and professionally to a foreign hospital or healthcare provider.
✅ Why Medical Records Matter in Medical Tourism
Before you’re accepted for a procedure abroad, doctors need to understand your full health history. Medical records help them:
- Diagnose your condition accurately
- Determine if you’re a candidate for surgery or treatment
- Identify any risks, allergies, or complications
- Offer a realistic cost and timeline
- Customize your treatment and recovery plan
Without these documents, you may face delays, misdiagnoses, or the risk of unexpected medical issues during your treatment abroad.
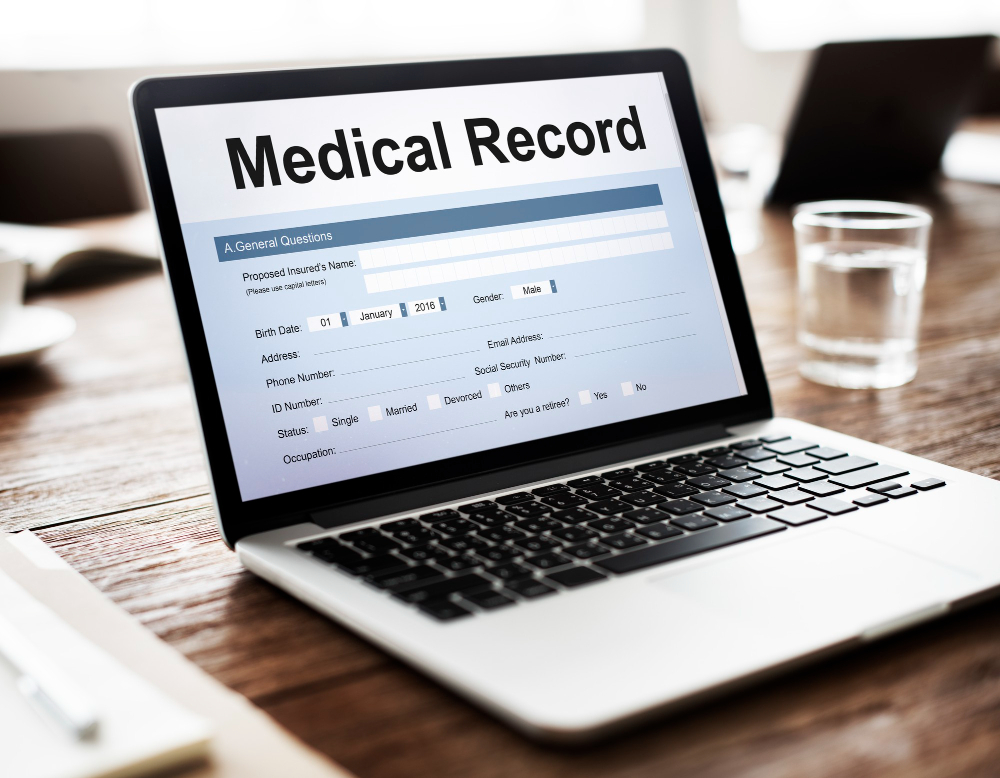
✅ Step 1: Know Which Medical Records You Need
Different treatments require different sets of medical records. However, the following documents are commonly requested for all international treatments:
Basic Documents:
- Passport copy (for identity verification)
- Medical history summary
- Current diagnosis or referral note from your home doctor
- List of medications (with dosages)
- Allergy list (drugs, food, or materials like latex)
- Immunization records (especially if required for travel or surgery)
Specialty-Specific Documents:
👨⚕️ Surgical Procedures:
- Recent blood tests, ECG, chest X-ray, and imaging (CT, MRI, or ultrasound)
- Physician notes and surgical recommendations
🦷 Dental Treatments:
- Panoramic dental X-rays (OPG)
- Intraoral photos or 3D scans if available
- Notes on previous dental work
🧬 Fertility / IVF:
- Hormone test results (FSH, LH, AMH, etc.)
- Ultrasound scans
- Sperm analysis reports
- IVF history (if applicable)
🧠 Oncology / Cancer:
- Biopsy reports
- PET/CT scan results
- Tumor marker blood tests
- Histopathology reports
🦴 Orthopedic:
- MRI or X-ray of the affected joint or bone
- Physical therapy records (if applicable)
- Notes on mobility limitations or past injuries
Pro Tip: If you’re unsure what’s needed, request a pre-consultation checklist from the hospital or facilitator.
✅ Step 2: Request Certified Copies from Your Healthcare Providers
Some hospitals abroad require certified or signed copies of your records, especially lab and imaging reports. You can obtain these by:
- Requesting printed and signed reports from your doctor or clinic
- Downloading digital records from your patient portal (if available)
- Asking for films or CDs of X-rays and MRIs
Make sure all reports are:
- Clearly dated
- Legible and in English
- Include the doctor’s name, clinic address, and signature
✅ Step 3: Translate Your Documents if Needed
If your records are in a language other than English, have them professionally translated before sending them abroad. Most hospitals in India and other medical tourism destinations require English documentation.
Make sure your translated documents are:
- Accurate and complete
- Done by a certified medical translator
- Labeled with both original and translated versions
Some hospitals offer in-house translation for specific languages—ask in advance if this is available.
✅ Step 4: Organize Your Records Chronologically and by Category
Doctors prefer a well-structured, chronological file instead of dozens of scattered documents. Organize your records in the following order:
- Cover page with your name, contact, DOB, and procedure requested
- Summary of medical history
- Most recent reports first
- Group documents by type:
- Imaging (X-rays, CT, MRI)
- Bloodwork
- Doctor’s notes and consultations
- Prescriptions
- Past surgeries and hospitalizations
- Imaging (X-rays, CT, MRI)
- List of current medications and allergies
Use filenames like:
John_Doe_MRI_Right_Knee_2024-09-10.pdf
Jane_Smith_Fertility_HormoneReport_AMH_2024-05-05.pdf
This makes it easier for the medical team abroad to review your case quickly and thoroughly.
✅ Step 5: Digitize and Compress Your Files
Most hospitals prefer receiving digital versions of your records via email, hospital portals, or secure upload systems. Here’s how to prepare your files:
- Scan your documents using a PDF scanner app (avoid camera images)
- Ensure high readability (avoid blurry scans or dark shadows)
- Compress large files (especially imaging scans) into manageable sizes (under 10MB per file)
- Use ZIP folders if necessary to send multiple files at once
Some popular tools:
- Adobe Scan or CamScanner (for mobile)
- Smallpdf or ILovePDF (for compression)
- Google Drive or Dropbox links (if email attachments are too large)
✅ Step 6: Send Your Records Securely
Always send your documents safely and professionally to your destination hospital or provider. Options include:
- Email with password protection
- Uploading via the hospital’s secure portal
- Encrypted file-sharing platforms like WeTransfer or Google Drive (with restricted access)
Avoid:
- Sending documents through social media or unsecured messaging apps
- Sharing files with unknown third parties
Confirm receipt and ask if the documents are complete or if anything else is needed.
✅ Step 7: Keep a Copy for Yourself
Always retain your own copy—digitally and, if possible, printed. You may need your documents:
- For airport medical clearance
- In case of emergencies
- To provide your home doctor with post-treatment
- For insurance claims
Use a USB drive or cloud storage for easy access while traveling.
✅ Final Checklist: Preparing Your Medical Records
✔ Passport copy
✔ Recent medical reports and diagnosis
✔ Imaging (X-rays, MRIs, scans)
✔ Lab test results
✔ Medication and allergy list
✔ Specialist referral notes
✔ Translation (if required)
✔ Organized files (by date and type)
✔ Digitized and compressed format
✔ Sent via a secure platform
✔ Copies retained for personal use
✅ Final Thoughts: Preparation is Empowerment
The success of your international treatment begins with how well your medical history is communicated. Well-prepared medical records speed up diagnosis, reduce risks, and build trust between you and your overseas medical team.
By following these steps, you not only show professionalism but also empower your doctor abroad to deliver the best possible care.
So, before you pack your bags for India, Thailand, or anywhere else—pack your medical history properly. It could be the most important preparation you make.